2022. 8. 31. 15:37ㆍiOS/Learning
iOS의 touch, tap, swipe등을 활용하여 sketch 기능이 있는 앱을 만들 것이다.
touch, tap, swipe, sketch를 각각 연습할 수 있도록 각 항목에 따른 뷰를 따로 생성하여 탭 바 컨트롤러로 뷰를 선택해 화면을 이동할 수 있게 할 것이다.
각각의 사항을 이벤트와 제스쳐 핸들링을 응용하여 연습해 보도록 하자.
Example 1에서는 먼저 touch와 tab 이벤트를 구현한다.
앱 구성
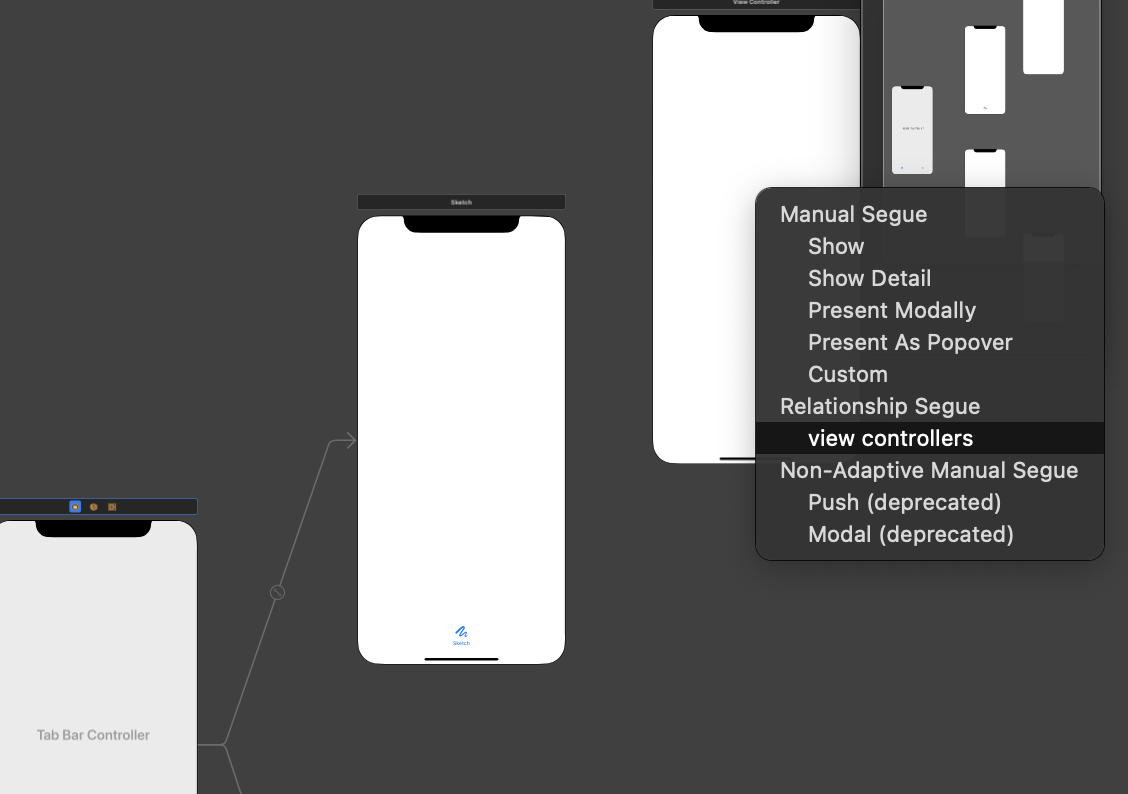
Xcode로 Project를 생성한 뒤, Main 스토리보드 안 아이폰 화면 전체 드래그.상단 메뉴바 [Editor -> Embed in -> Embed in -> Tab Bar Controller] 선택.
✅ Tab Bar Controller 추가 완료
Library(Editor 영역 우측 상단에 ➕모양) 버튼을 클릭해서 나오는 창에 View Controller검색 -> 스토리보드 화면으로 Drag & Drop.
Tab Bar Controller를 마우스 우측 버튼으로 클릭하여 추가한 화면
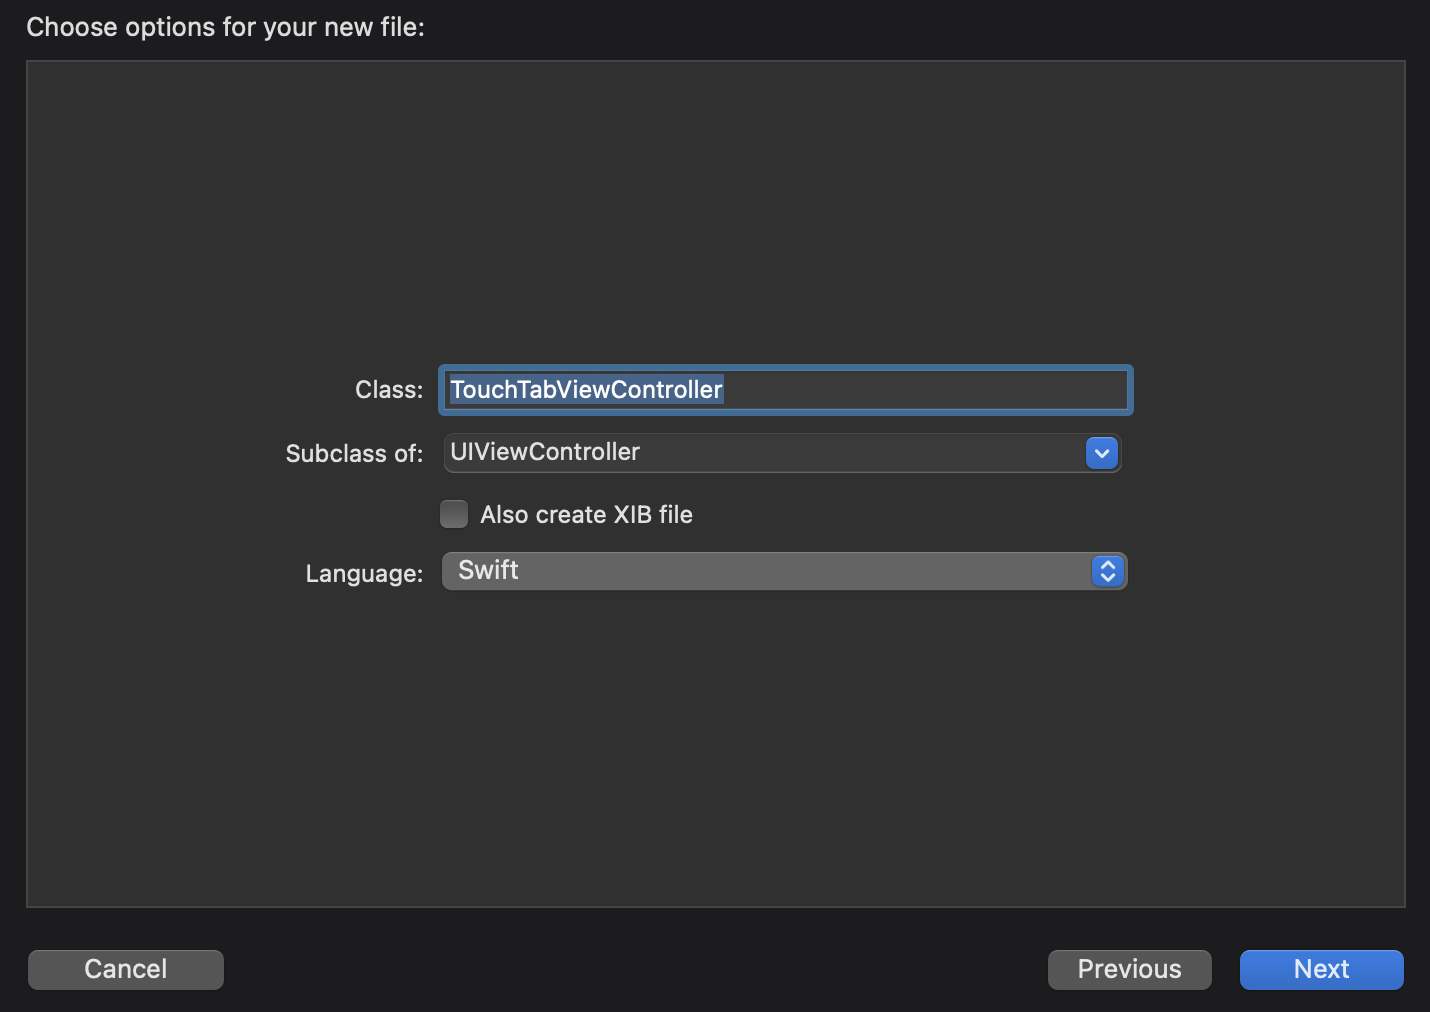
Swift 파일 추가를 위해 좌측 Navigator 영역에서 마우스 우클릭 > New File > Cocoa Touch Class

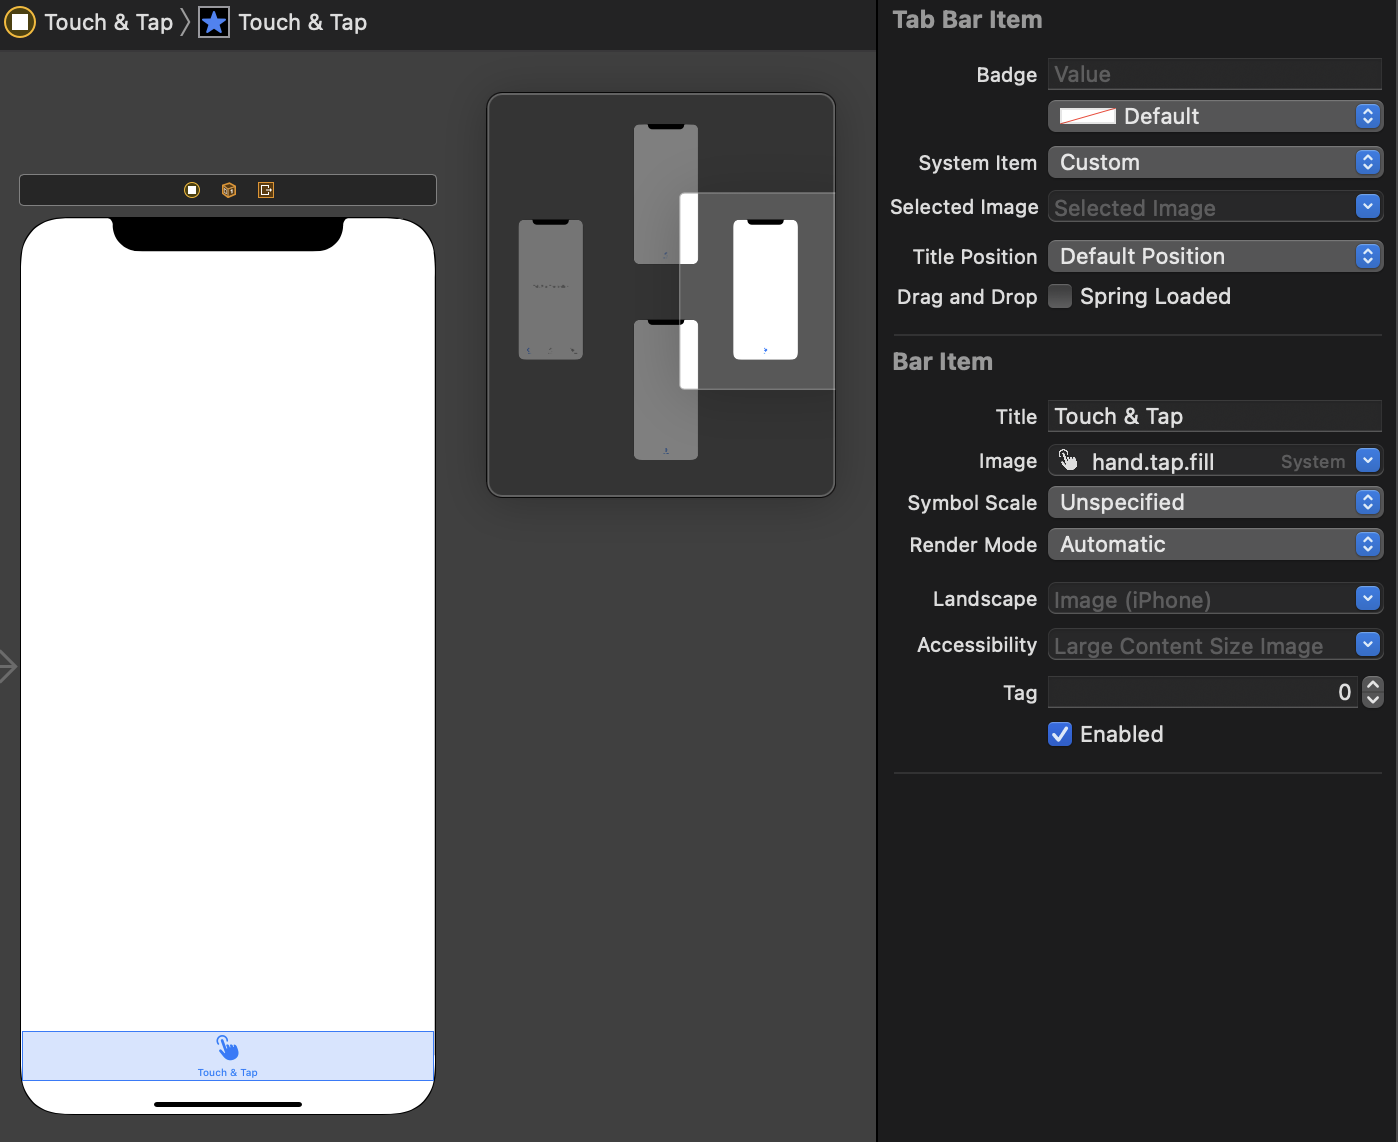
스토리보드 에서 Touch & Tab View 컨트롤러의 상단바 선택 > Inspector 창의 [Identity inspector]버튼 클릭, 클래스를 TouchTabViewController로 선택하여 컨트롤러와 클래스 파일 연결

Set the Touch & Tap View Layout
1. Touch & Tap 화면 클릭 -> Attributes Inspector의 Multiple Touch 항목 체크
2. Library[➕]버튼을 클릭하여 Vertical Stack View 가져오기
3. Stack View 선택하고 하단의 Add New Constraints

4. Stack View아래에 Label, Horizontal Stack View 3개 추가, Horizontal Stck View 안에 각각 레이블 두개씩 추가
Label - 가운데 정렬 (Inspector > Alignment)
Horizontal Stack View - Inspector > Distribution > [Fill Equally]

5. Constraints - Height변경(3 참고)
Label: 60
Horizontal Stack View: 30
아래와 같이 문구 변경

6. Outlet Variable추가
Editor 영역 상단 우측 Adjust Editor Options 버튼 > Assistant 클릭
Horizontal Stack View에서 값이 출력될 우측 Lable 3개 각각: Asisttant 코드 영역으로 Drag & Drop
Implement Touch & Tap Event
import UIKit

class TouchTabViewController: UIViewController {
    @IBOutlet var message: UILabel!
    @IBOutlet var tapCount: UILabel!
    @IBOutlet var touchCount: UILabel!

    override func viewDidLoad() {
        super.viewDidLoad()

        // Do any additional setup after loading the view.
    }

    override func touchesBegan(_ touches: Set<UITouch>, with event: UIEvent?) {
        updateTouchView(touches: touches, touchType: "Touches Began")
    }

    override func touchesMoved(_ touches: Set<UITouch>, with event: UIEvent?) {
        updateTouchView(touches: touches, touchType: "Touches Moved")
    }

    override func touchesEnded(_ touches: Set<UITouch>, with event: UIEvent?) {
        updateTouchView(touches: touches, touchType: "Touches Ended")
    }

    func updateTouchView(touches: Set<UITouch>, touchType: String) {
        let touch = touches.first! as UITouch // get current touch event
        message.text = "Touches Began"
        tapCount.text = String(touch.tapCount)
        touchCount.text = String(touches.count)
    }

    /*
    // MARK: - Navigation

    // In a storyboard-based application, you will often want to do a little preparation before navigation
    override func prepare(for segue: UIStoryboardSegue, sender: Any?) {
        // Get the new view controller using segue.destination.
        // Pass the selected object to the new view controller.
    }
    */

}
Result)


Reference
Do it! 스위프트로 아이폰 앱 만들기 입문 개정 4판, 이지스 퍼블리싱, 송호정, 이범근